
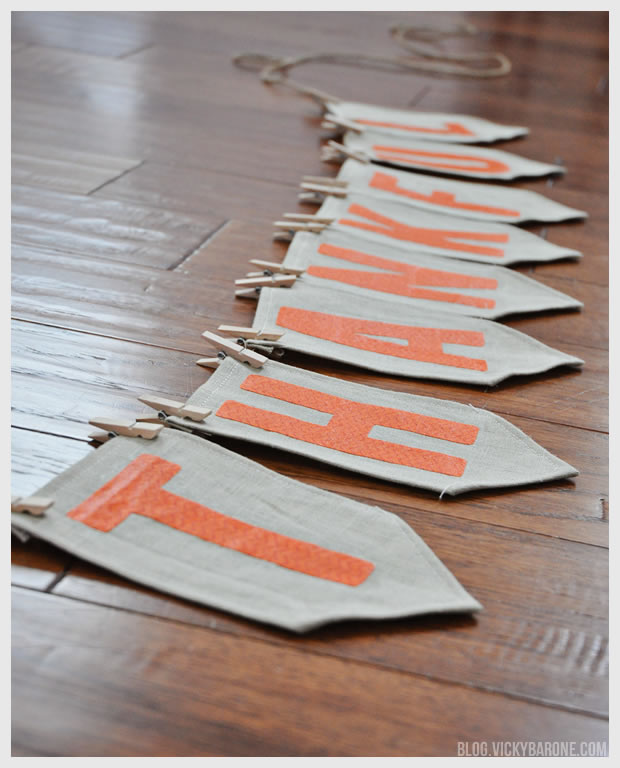
The last Thanksgiving garland we made is still such a hit that we were more than excited to create a new one this year! We made this “Thankful” bunting using fabric and Mod Podge, with the method we used for this Inspirational Pennant. Keep scrolling to see more!
 Supplies: linen or muslin fabric, orange patterned fabric, fabric scissors, a sewing machine(optional!), Mod Podge, a paint brush, twine, and mini clothes pins.
Directions:
1. Print out a word you’d like the banner to read. This will be your stencil and guide for how big to make each pennant.
2. Cut the linen into rectangles (ours were about 4.5″ by 6.5″).
3. Create a 1/4″ hem on the longer sides of the rectangle and either sew or glue them down. Create the same hem on the top of the rectangle and sew or glue as well.
4. With the rectangle face down, fold the un-sewn bottom up by the corners to create the point. Glue into place or sew along the edge to match the rest of the hems.
5. Paint both sides of the orange fabric with Mod Podge and let dry. This will stiffen the fabric and prevent it from fraying when cut.
6. When the orange fabric is dry, cut out the letters with scissors using the printed stencil you created.
7. Use more Mod Podge to attach the letters to each linen pennant. (Optional: give each pennant an extra coat of Mod Podge to seal the letters).
8. When the pennants are dry, use mini clothes pins to attach them to a piece of twine. Hang your garland and enjoy!

If you like what you see here, we’d love for you to follow us on Instagram, Facebook, and Pinterest! We’ll be sharing our Thanksgiving table next week and we’re so excited!